Tag: Turkey
-
Grateful Gatherings: Boneless Turkey Breast Recipe
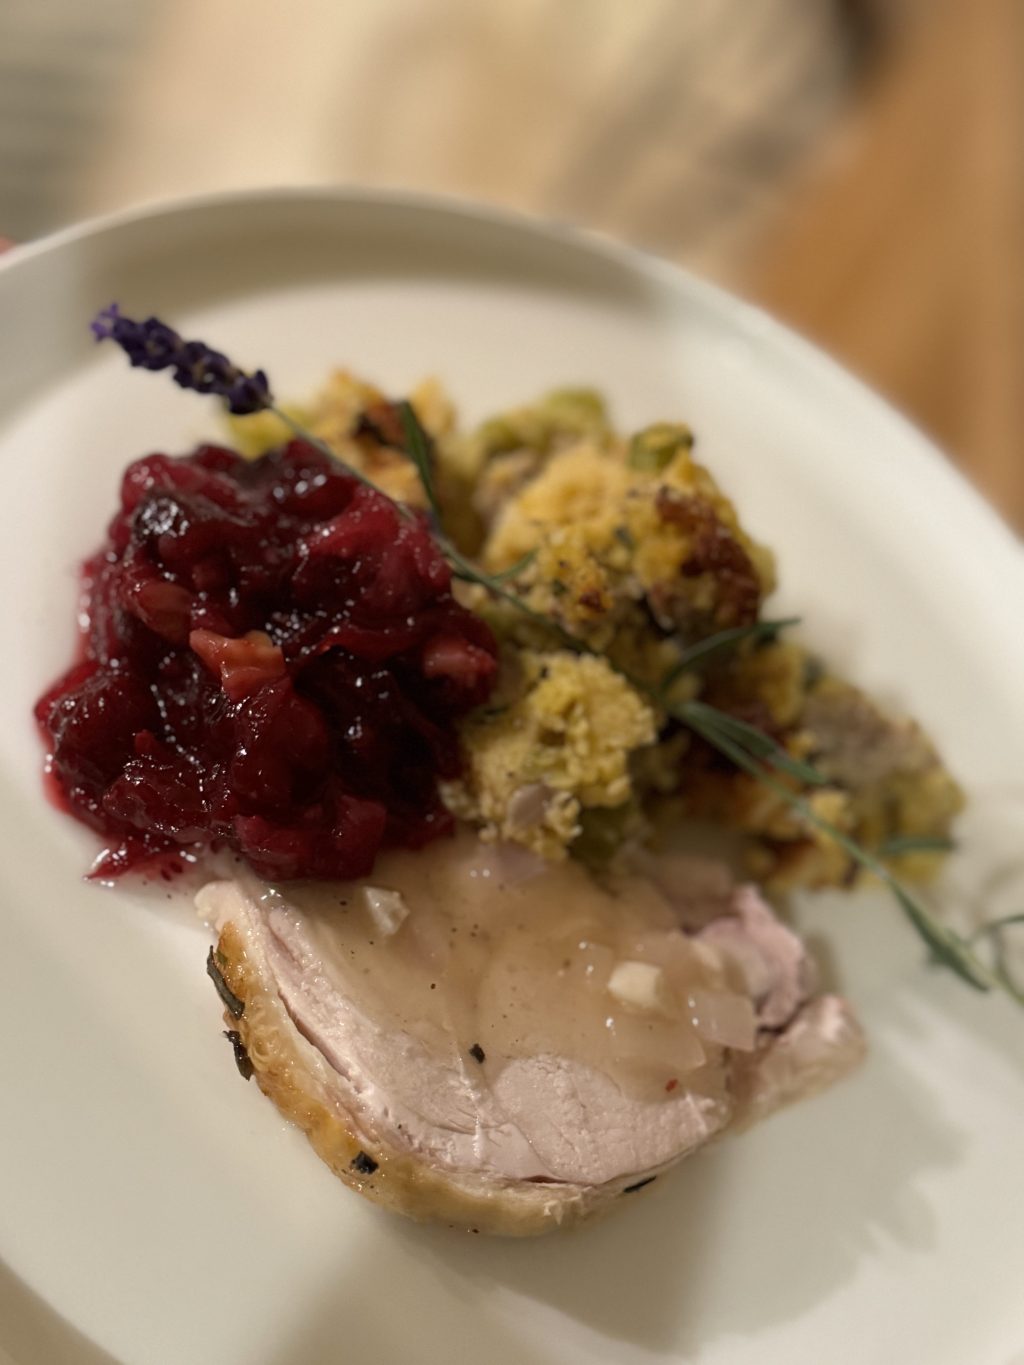
Keep it simple by roasting a Boneless Turkey Breast and serving it with a white wine gravy! All can be made ahead to keep things simple! THANKSGIVING What’s in a word? Take a moment to think about the meaning behind whatever it is that we are celebrating. Thanksgiving is more than just a day that…
-
Rosé and Sage Turkey

Thanksgiving is almost here… Lets make it a great one! Hosting a holiday meal, whether it be for five or twenty-five, needn’t be stressful. Take a moment now to review the guest list, read through your recipes and shop for any items that you will need. Rosé was the wine of the summer…so I…
-
White Wine and Fresh Herb Roasted Turkey Recipe
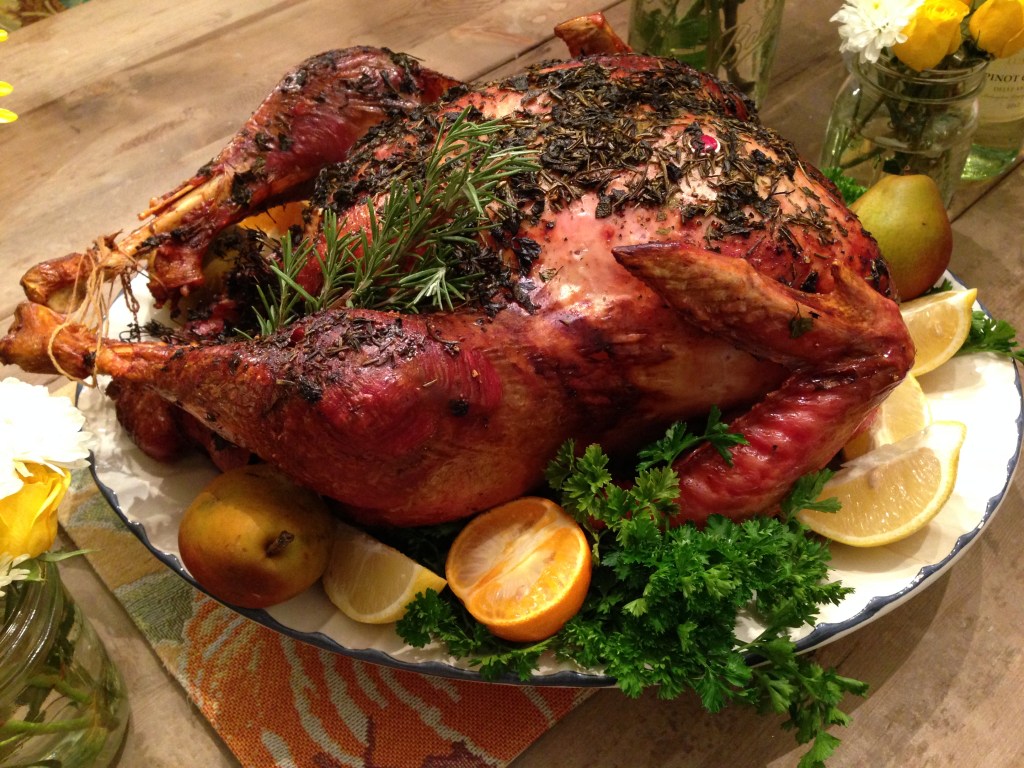
( A NOTE ABOUT THIS RECIPE POST WHICH WE WROTE IN 2014! The Butcher has found that he prefers the D’Artagnan All Natural Turkey to the one that we used in this recipe…so R&S Meat Market will exclusively carry the All Natural No Hormone…No Antibiotic Fresh Turkey from D’Artagnan…the Recipe and other ingredients remain…
