My Grandma always had something cooking in the kitchen. Whether she was baking up sour dough muffins or preparing a full course meal, we could always count on her for some type of treat. There were several dishes that she made like none other. This Pot Roast was one of them and it is melt in your mouth delicious.
Until several years ago, I wasn’t sure what the secret was to her pot roast. I was sad that I hadn’t asked for the recipe, until my brother invited me for dinner….and to my surprise had cooked up Grandmas Pot Roast! Needless to say I grilled him on the exact particulars of her recipe…so here it is…..I am sure that your family will love it just as much as mine does!
Click through the gallery for step by step directions. I have posted the entire recipe below.


This recipe will feed about five healthy eaters. I prepared mine using a large dutch oven. I think that Grandma used to use a very large, deep frying pan with a lid, to slow cook this on the stove top. Either way will yield the same delicious results.
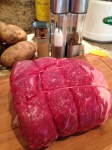
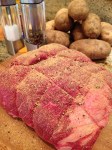
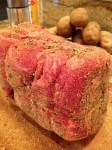
From The Butcher, you will need one 5-5 1/2 pound Chuck Roast. (I used Painted Hills All Natural)
You will also need:
Six tablespoons of butter
Four tablespoons of Olive Oil
One 32 ounce box/can of Beef or Chicken Stock
Two cups of water
Freshly ground Salt and Pepper
Granulated Garlic
One or Two Tablespoons of Corn Starch
Pre Heat the oven to 350 degrees fahrenheit.
Season the roast on all sides with plenty of freshly ground salt and pepper. Add some granulated garlic or onion salt for a nice flavor.
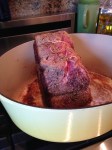
In a large dutch oven, heat the butter and oil over medium high heat. Add the seasoned roast and sear on all sides. Be patient and take your time to sear the meat well. This step will help you keep the roast juicy and also add flavor to your gravy. It will take about ten to twelve minutes to sear the entire roast.
Now you can add one thirty-two ounce box of chicken or beef stock and two cups of water to the pot. Cover, and place in the oven to slow roast for about three and a half to four hours. At the halfway point, turn the roast over using two large forks. You can also add some more water or stock, so that the roast remains submerged in the liquid about halfway.
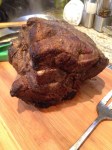
At the end of the cooking time, remove the pot from the oven and let sit for about 10 minutes. Remove the roast from the pot to your cutting board. Be sure to remove all of the strings before you start to slice the meat. I also prefer to thicken my gravy before slicing the meat.
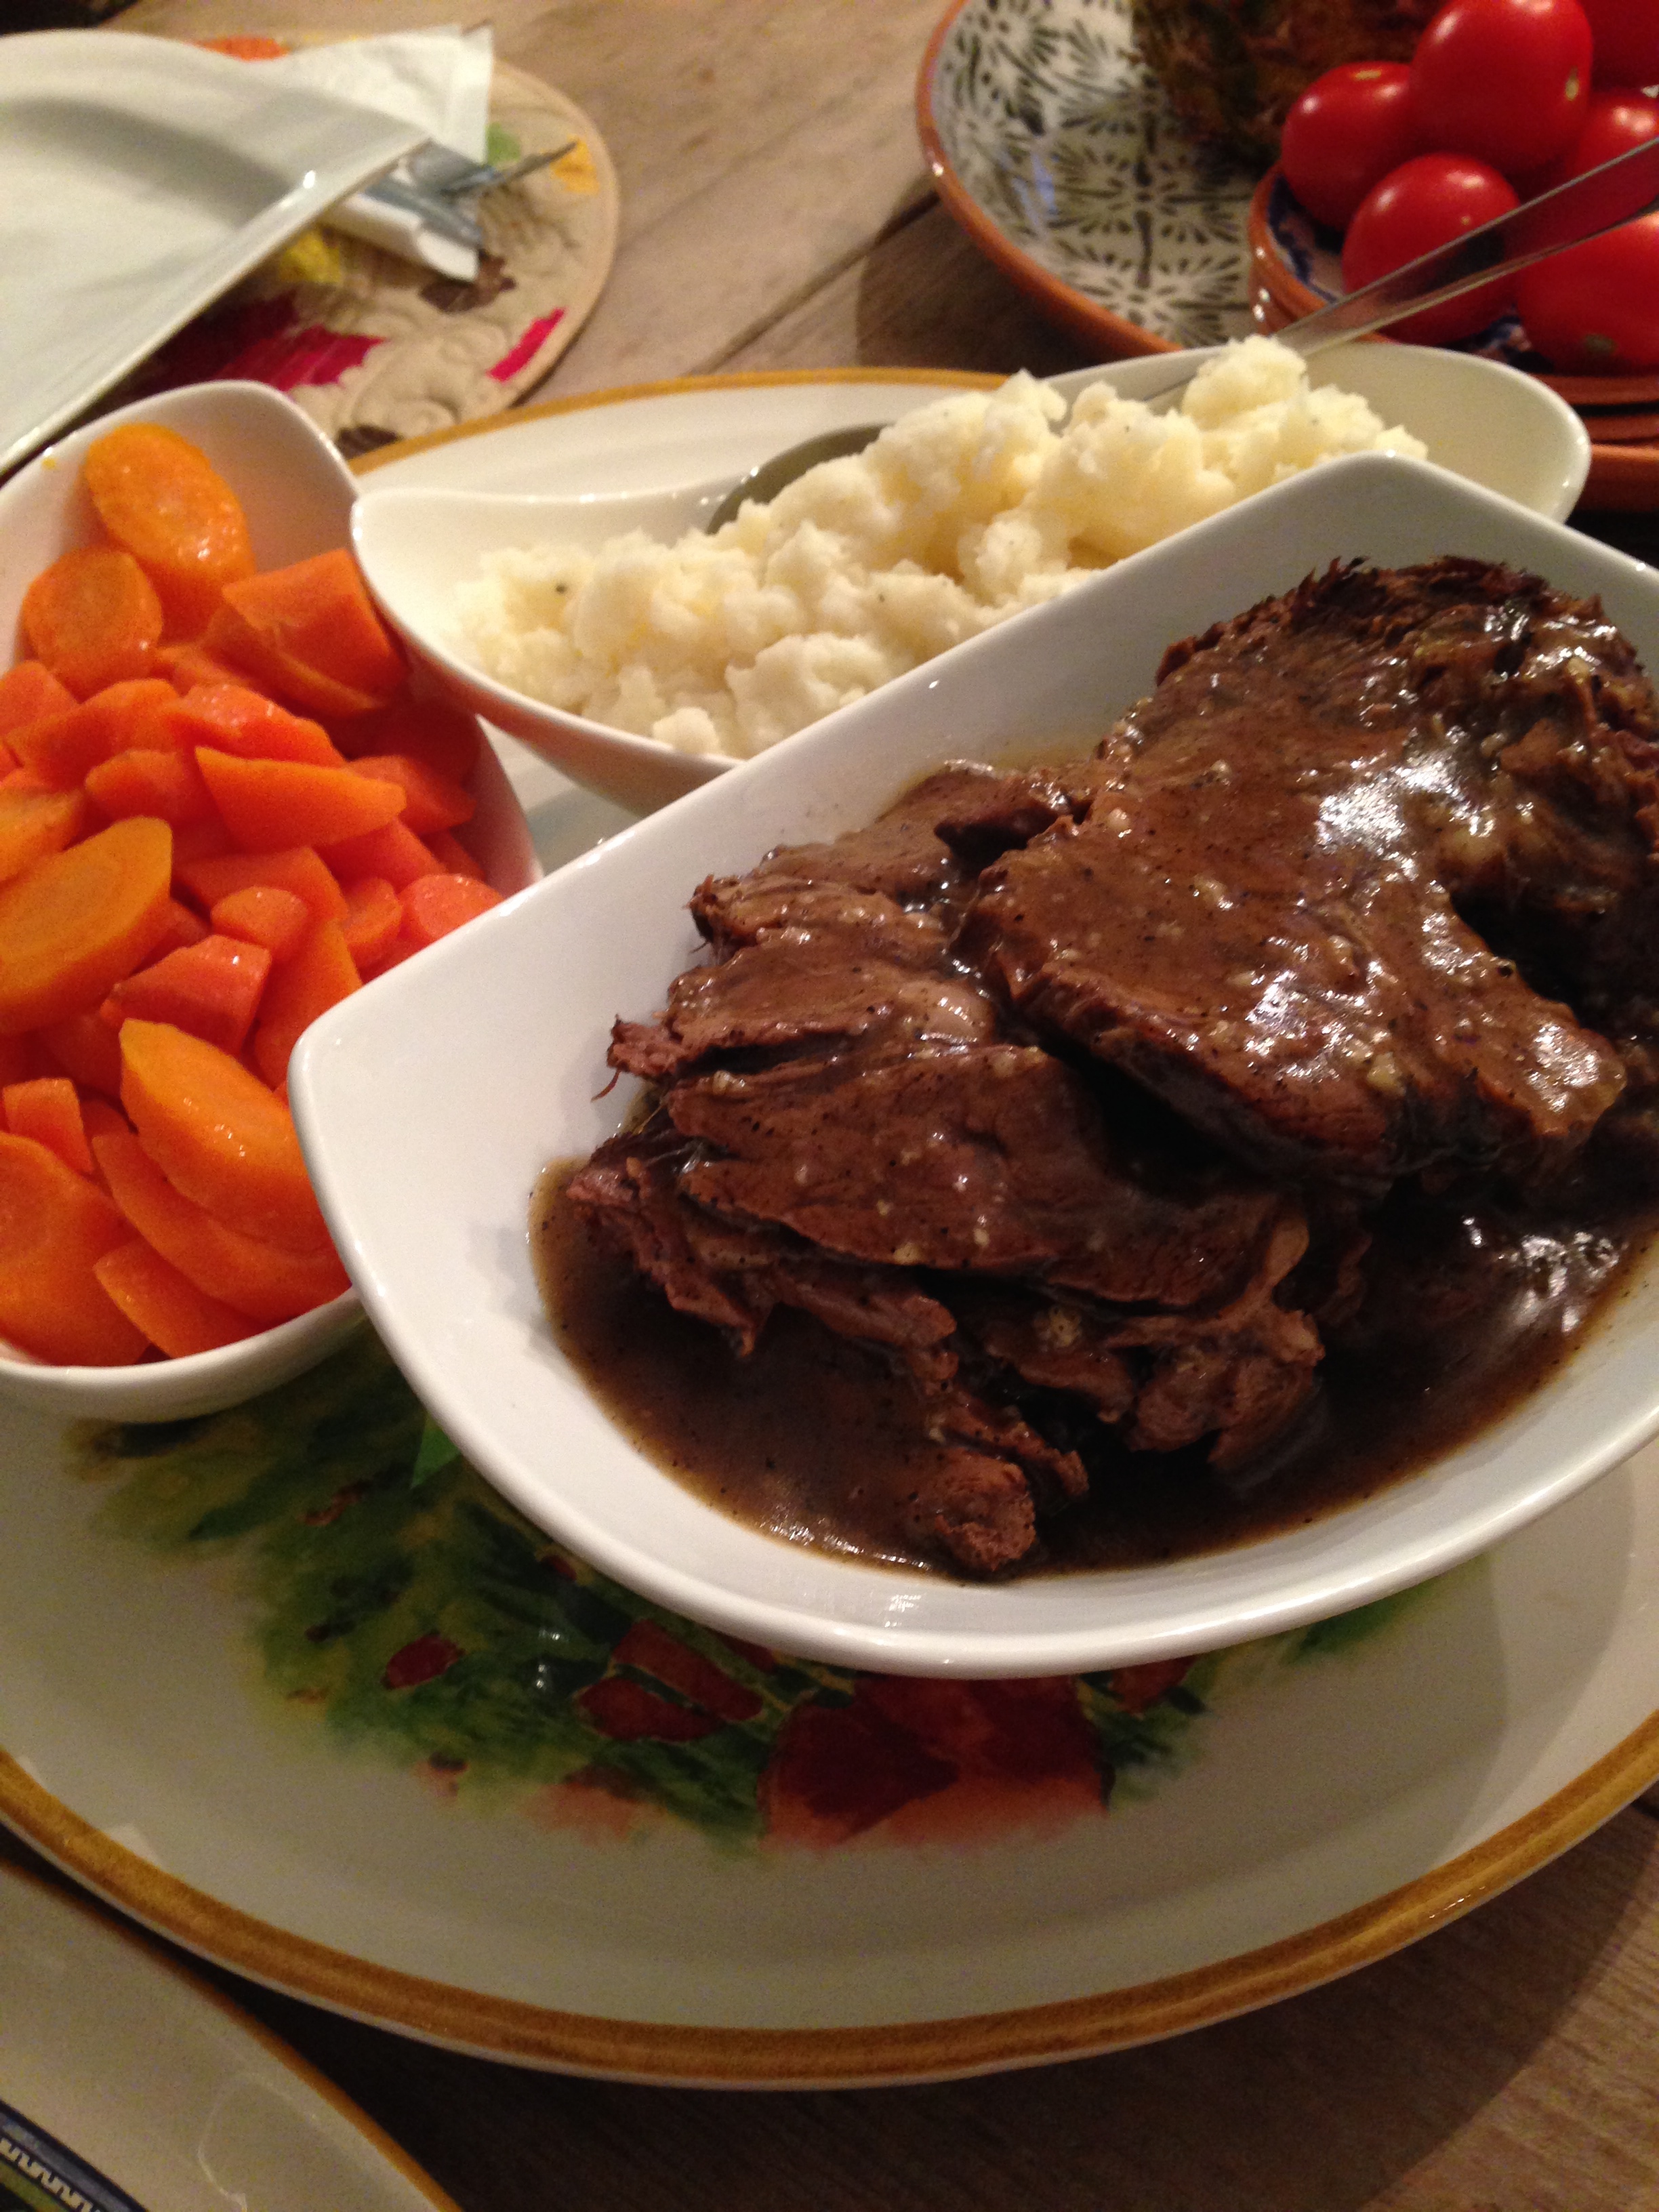
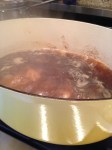
To make a delicious gravy you will need to remove some of the liquid from the pot. Set this aside in a separate bowl. When you have about two cups of broth in the bottom of your pot, you can heat over medium high heat. Start to whisk, bring to a simmer and sprinkle one tablespoon of cornstarch over the liquid. Continue to whisk the mixture until it is thickened. Now you can slice the meat into quarter-inch thick slices. Use a deep serving dish so that you can ladle gravy between the layers of meat. Thicken more gravy if need be.
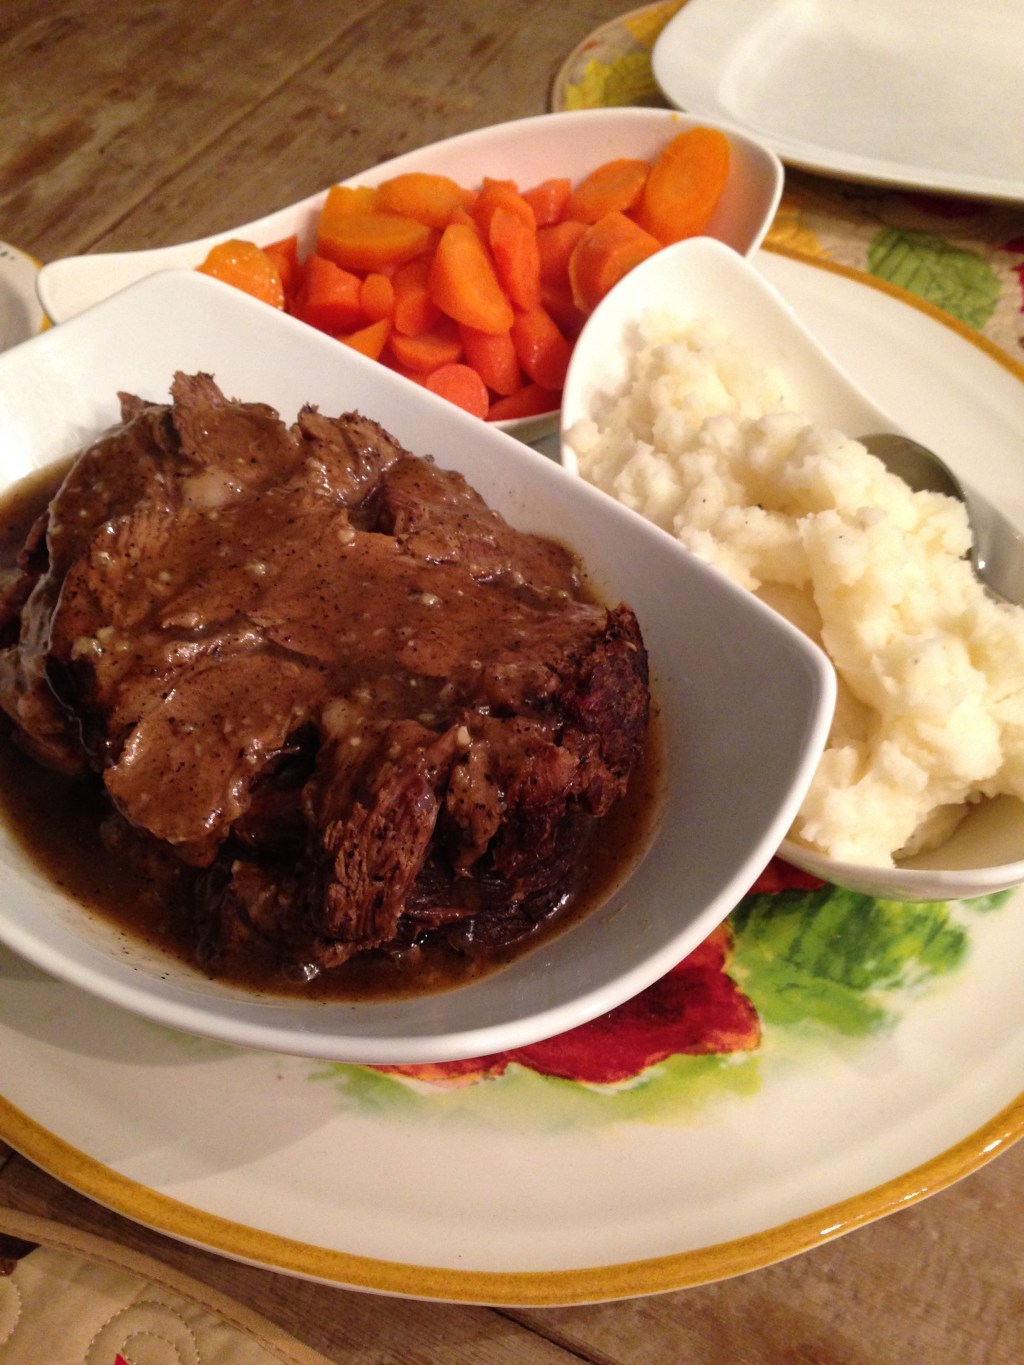
Serve alongside mashed potatoes or polenta. Add your favorite fresh veggie or salad….enjoy a wonderful weekend meal with the family!
Just a thought for my Gluten Free friends….even though cornstarch is considered to be gluten free, I find that the rice starch thickener below works really well.


One response to “Grandma K’s Pot Roast”
I cannot wait to make this!! Thanks for the step by step!!