These Venetian Rainbow Cookies are a beautiful holiday tradition. They may look complicated but are actually simple, if you have a little patience!
I always begin my holiday baking with these rainbows. My thoughts are, start with the most time consuming cookie, and then the rest will seem like a breeze!
A few items to have on hand that will make the process simpler are the following:
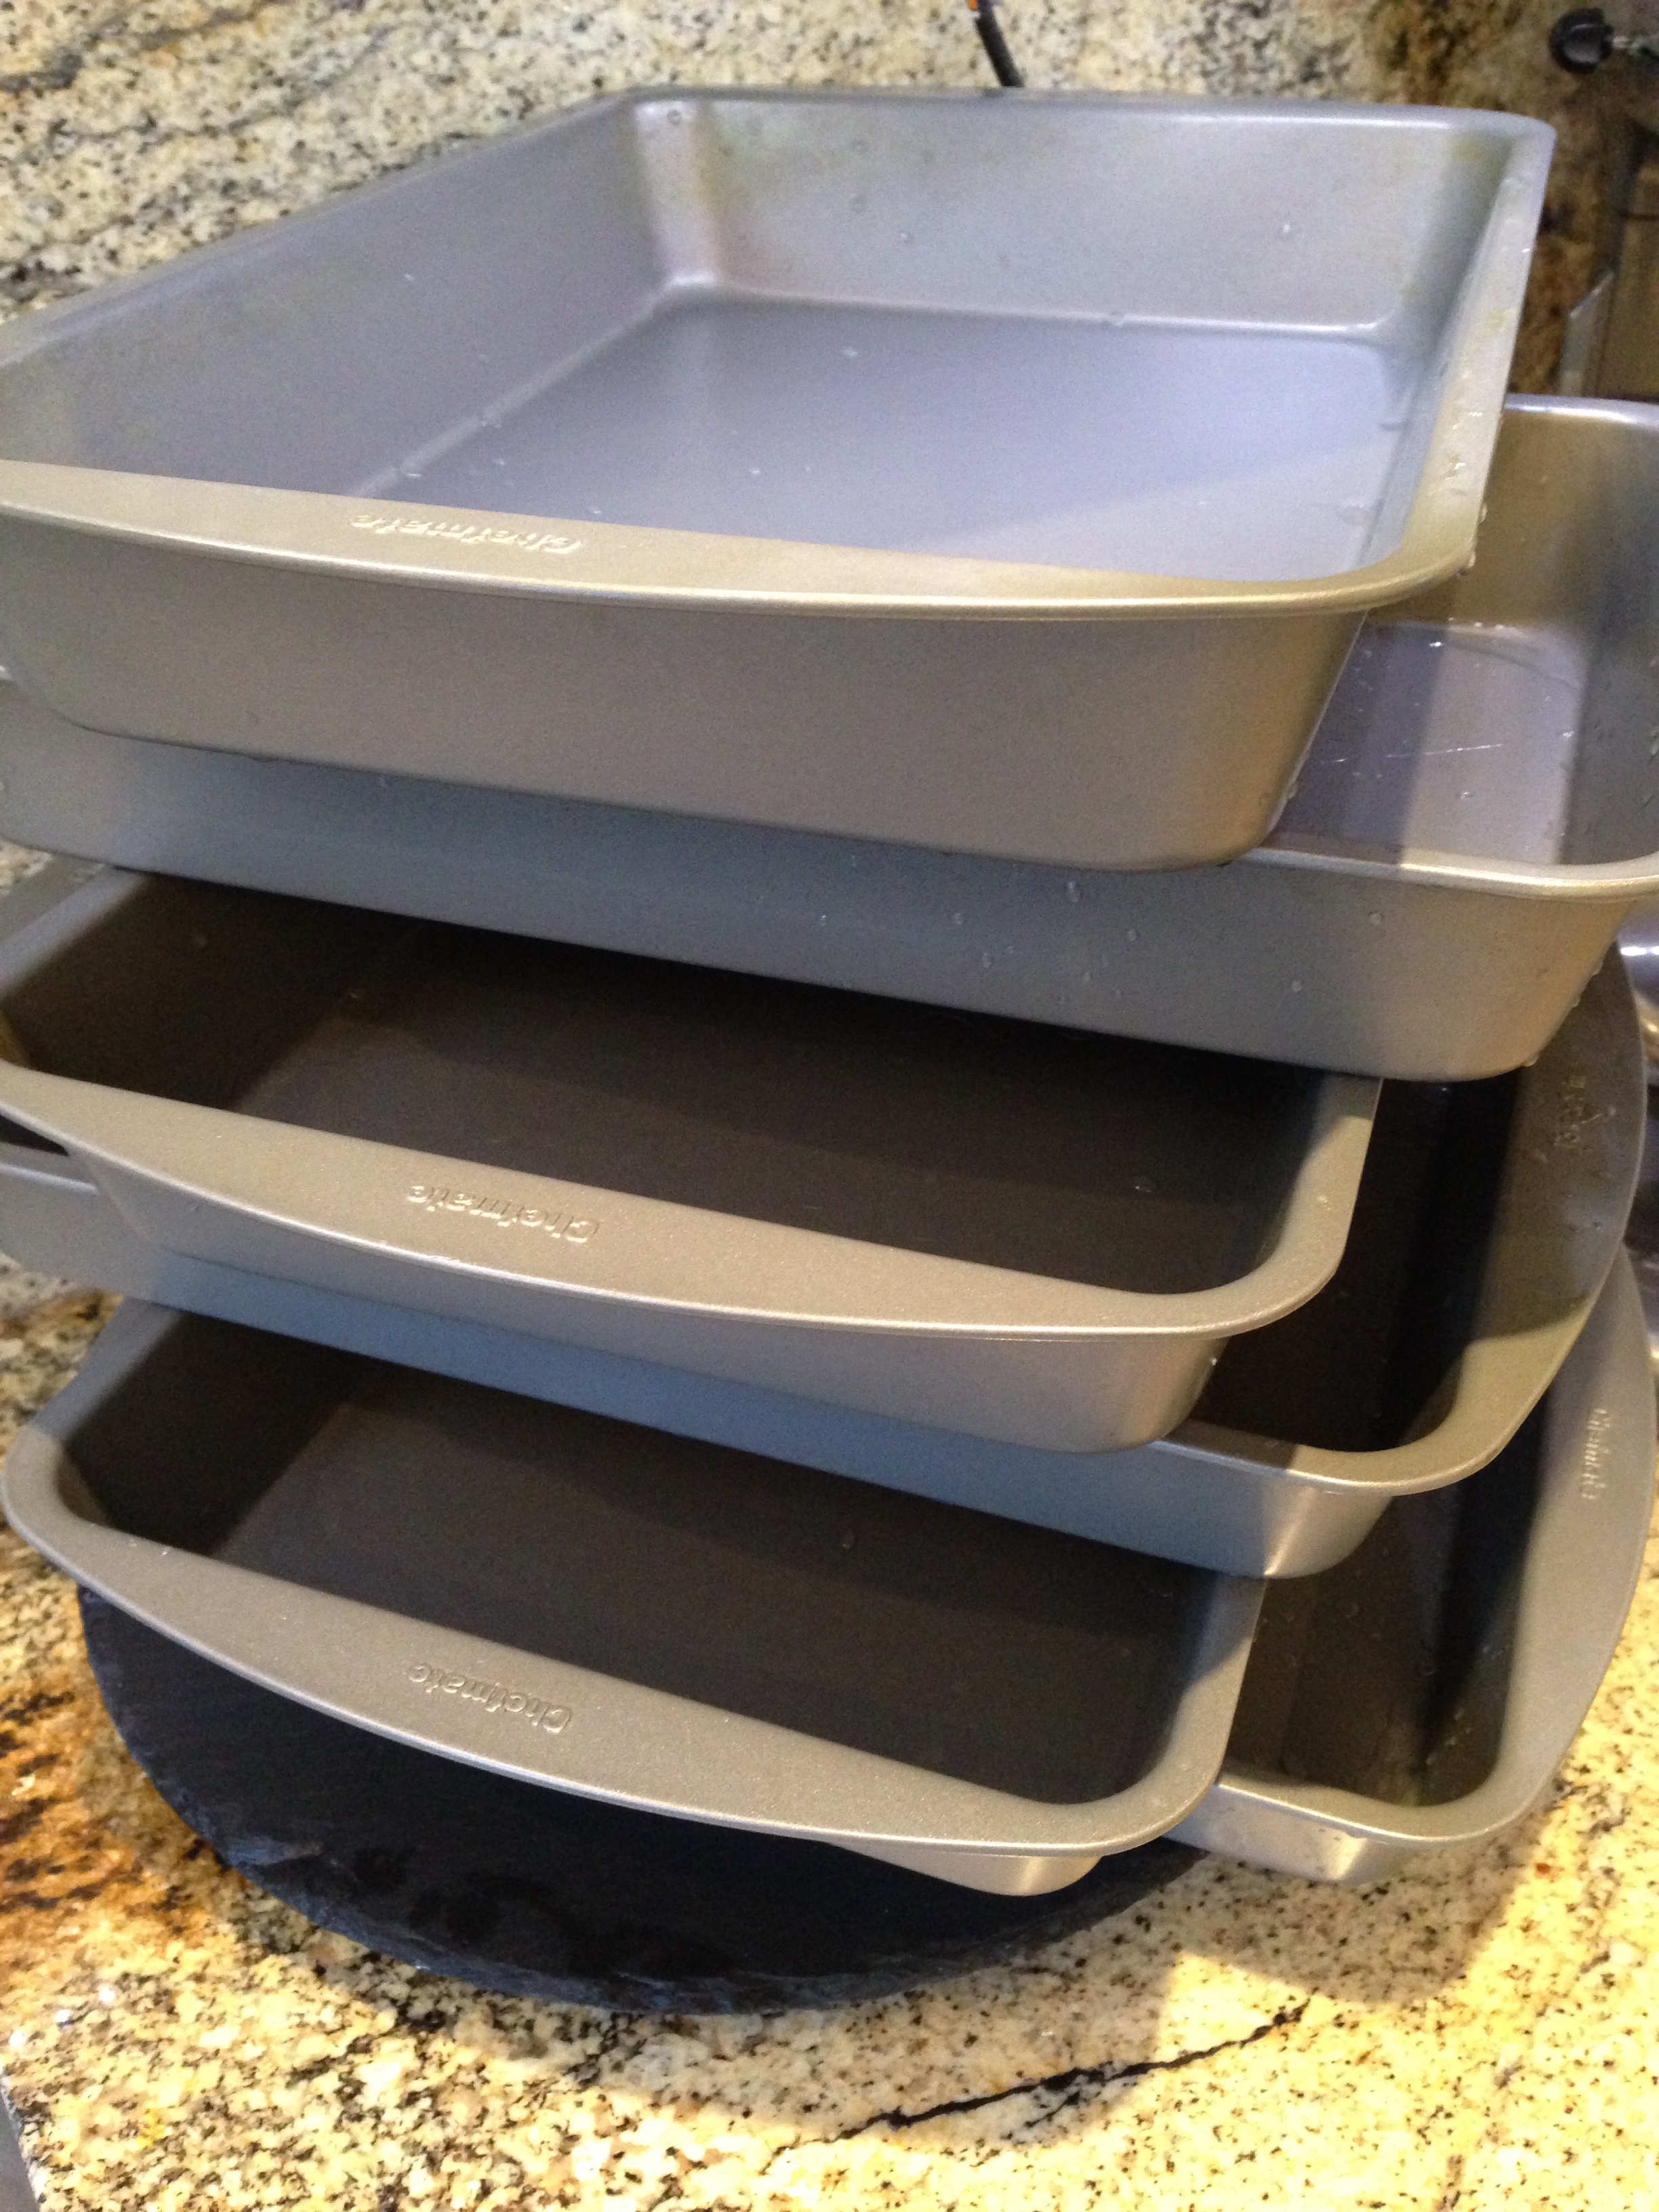
You will need three 13x9x2 sized baking pans. Plenty of parchment paper and Crisco shortening to prepare the pan.
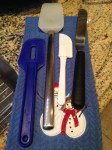
Having these four tools will make like easy! A firm plastic spatula, a spooned shape scraping spatula, a super tiny plastic spatula, and a small offset metal spreader.
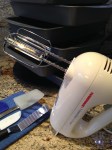
I use the stand mixer to combine all of the ingredients, but it helps to have a small hand held mixer to beat the egg whites.
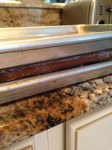
A small double boiler for melting the chocolate. A long thin metal spatula. The most essential tool is the super sharp, long blade, flat edge knife, used to cut the rainbow cookies perfectly!
Click through the photo gallery for step by step instructions. The full ingredient list and directions are posted below the gallery.
Having all of your ingredients ready to go, will keep the process running smoothly!
Prepare the pan using a paper towel dipped in shortening.
Lay a piece of parchment paper inside the pan, and then cover the parchment with shortening as well. This cookie is very thin, so the pan prep is super important, or you will never get the cookie out of the pan!
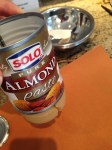
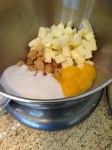
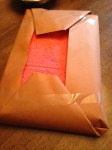
Use a can opener to open both ends of the almond paste can. Then you can simply push the almond paste out.
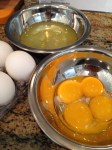
Have all of your ingredients at room temperature. This will help you easily separate the eggs and incorporate the butter.
Cut the butter into small pieces for easy mixing.
This is what you will see after the first several ingredients are combined well.
Be sure to scrape down the bowl in between addition of ingredients. Add the flour and salt.
Your cookie mixture will be thick!
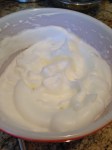
In a separate bowl, beat the egg whites until stiff peaks form.
This is what your egg whites should look like. It will take about 4-5 minutes.
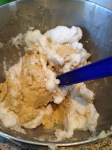
Now you will gently fold (stir) the beaten egg whites into the cookie batter.
Use a gentle stirring motion to slowly incorporate .
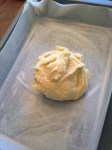
This is what your batter will look like after perfectly incorporated.
Set aside one and a half cups of plain white batter.
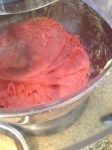
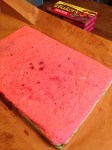
Mix one and a half cups of batter red, using 8 drops of red food color.
It looks pink until it is baked!
Now you can color the remaining cup and a half of batter with 10 drops of green food color.
I prefer to use the mixer to color the batter, but this step means you need to clean the bowl and paddle in between each color.
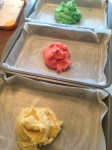
A cup and a half of each layer.
Using the small metal spreader, gently make a thin layer of batter covering the entire pan. You will need to take your time. This is where I use the tiny plastic spatula to help scrape and spread the batter.
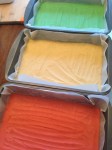
You will end up with about 1/4 inch layer of batter.
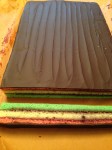
Bake for 8-10 minutes until just dry. Let stand on counter in the pan to set for about 5 minutes. Then remove from the pan, lifting the parchment paper.
Let the layers cool completely. Then you can start to layer filling , by flipping the green layer upside down on the paper of cutting board.
Spread half of 18 oz jar of preserves over the green layer.
Now you can add the white layer on top.
Make sure to place it face down to have a nice even cookie.
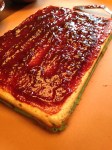
Spread the remaining preserves over the white layer.
Now you can top it off with the red layer.
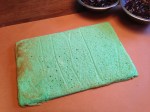
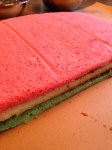
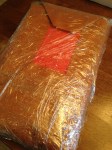
The key to having a nice even cookie, is to wrap them tightly with plastic wrap.
The best method is to prepare the layers directly on a large cutting board and wrap the entire board and cookie tightly with plastic wrap.
Place between cookie sheets, weighted down with several heavy books and refrigerate overnight or for best results about two days! Continue on the the next gallery to see step by step cookie slicing.
These will be a hit!
The most difficult part of these cookies is in the slicing! If you follow these tips, it will be much easier!
The key to these beautiful cookies is in the slicing!
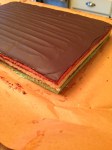
After you have refrigerated the layers overnight or for a few days, unwrap , and prepare to top with chocolate.
You will need exactly five ounces of baking chocolate for the perfect chocolate layer.
Using a small stove top double boiler will make this step simple.
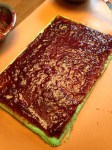
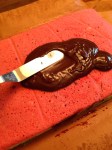
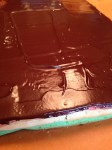
Spread the melted chocolate over the cookie using the metal offset spreader.
Let the chocolate layer dry completely! I usually do this in the morning and wait until the afternoon to slice.
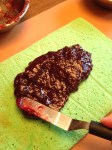
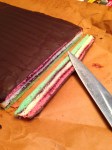
Use a super sharp straight edge long blade knife to slice. Have a stack of paper towels wet with warm water to clean the knife in between each slice. ( Yes, here is where the patience comes in!)
Start by slicing 1/4 inch from all four sides of the rectangle. This will give you a straight edge. Wiping the blade in between each cut will help the cookie have a nice clean edge.
After you have removed the 1/4 inch from all four sides, you can cut a strip about 1/2 inch wide down the short side of the rectangle. Make sure to wipe the blade clean first, then slide the knife through the cookie, rather than slicing straight down.
Lay the first strip flat down on it side
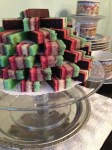
Slice once in half and then each half …in half. This will give you four perfect cookies per slice! Repeat with the entire rectangle and plate as you go.
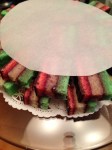
I like to use a round cake pedestal and layer cookies in between parchment rounds.
Now you have a beautiful dessert centerpiece:)
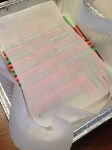
You can slice and place between parchment in a tray and refrigerate for at least two weeks.
That makes these the best cookies to start with !
Ingredients:
8 oz can of Almond Paste
2 Sticks of butter ( One cup)
One Cup of Granulated Sugar
4 Eggs separated
One Teaspoon of Almond Extract
2 Cups of Flour
1/4 Teaspoon Salt
Food Color- 10 drops green, 8 drops red
One 18 oz jar of Apricot OR Raspberry Preserves
Three 13x9x2 Baking Pans
Parchment Paper and Crisco Shortening to prepare pans
5 Ounces of Semi Sweet Baking Chocolate. ( Do not use chocolate chips)
Pre heat the oven to 350 degrees.
Prepare each baking pan with shortening, line with parchment and then rub shortening on top of the parchment.
Break up the almond paste in the bowl of your mixer. Add softened butter, sugar, egg yolks and almond extract. Beat with the mixer until light and fluffy (3 minutes or so). Beat in flour and salt.
In a separate bowl beat egg whites until stiff peaks form. This should take between 4-5 minutes. Fold egg whites into dough mixture with a gentle stirring motion. Separate batter into three bowls of 1 1/2 cups each. Leave one plain, tint one red and one green.
Spread mixture into prepared pans using a small offset spatula. Take your time on this step to produce an even 1/4 inch layer. Bake for 8-10 minutes or until just dry. Remove from the oven and let set on the counter for five minutes. Remove from the pan by lifting parchment paper. Let cool completely.
When cool, spread half of preserves over green layer, then the rest over plain layer. Lastly top with red layer. Wrap tightly with plastic wrap and refrigerate overnight.
Melt five ounces of baking chocolate and spread over top of rectangle cookie layers. Let harden for several hours. Slice and serve!


One response to “Venetian Rainbow Cookie Recipe”
[…] http://randsmeatmarket.com/2014/12/06/venetian-rainbow-cookie-recipe/ […]